

The initial spark for this project came from the desire to continue my graduation thesis exploration of fantastical thinking and storytelling. What if everyday objects could trigger unusual interactions? Then, what if a simple hat played sounds when placed in the head?
In addition to being fun to interact with, the "Talking Hat" introduces kids to music concepts like duration, volume, rhythm, and pitch. As a wearable object, it can also stimulate dance and other types of body expression.
This project is also an experiment on sewing, 3d printing, Arduino, and interaction design. I'm currently working on it while documenting my progress here.
1. The core
(electronics)
(electronics)
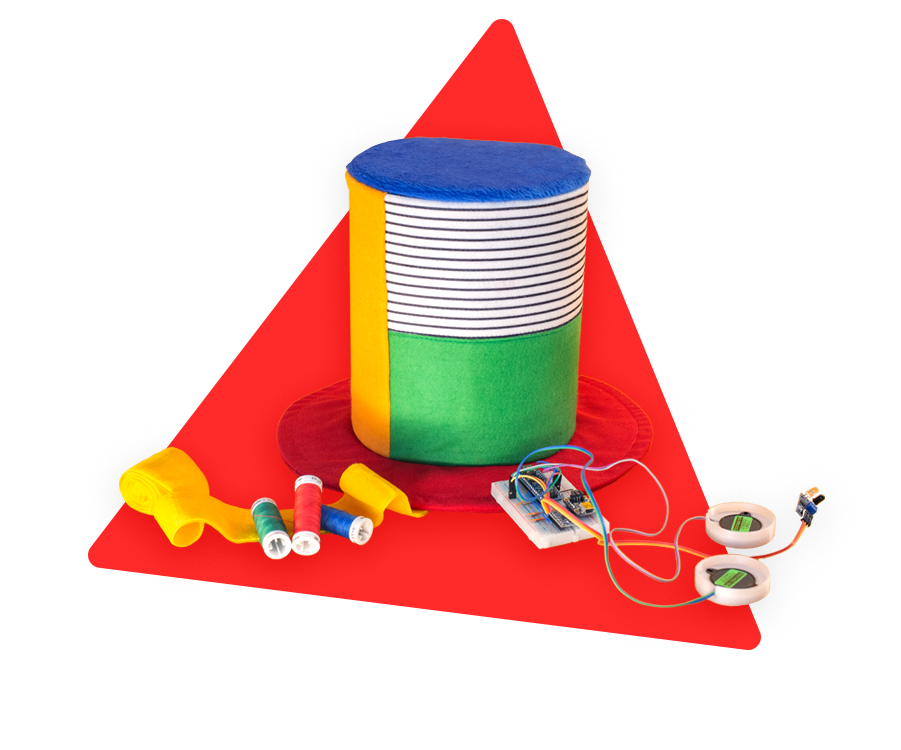
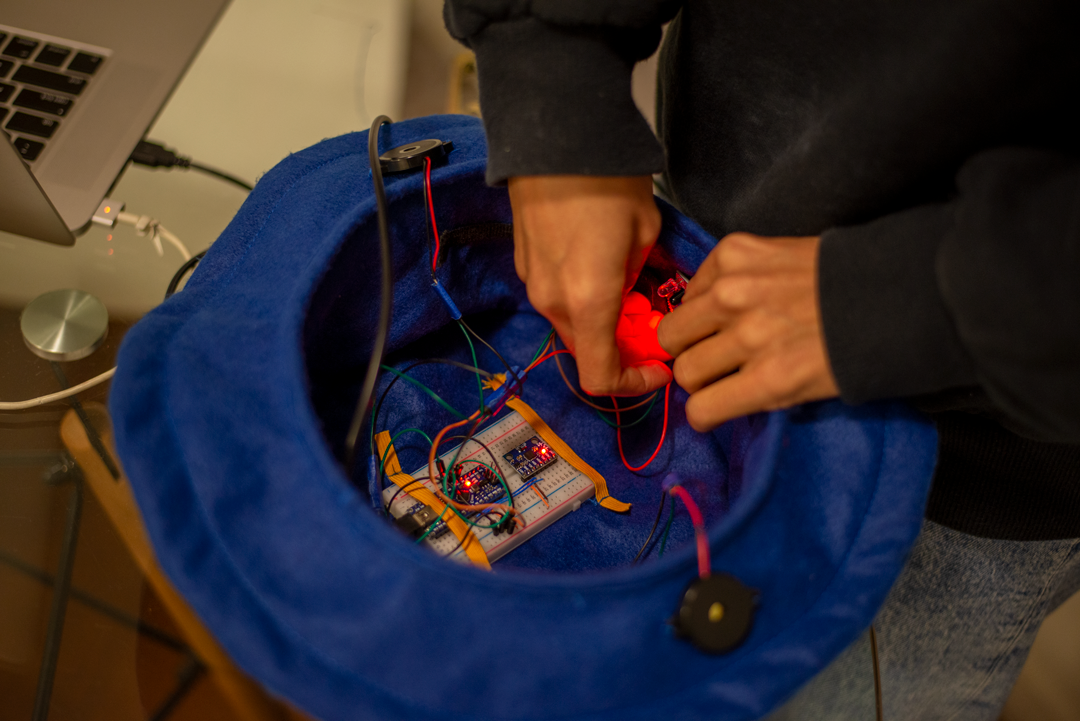
To keep kids free while using the hat, I designed a compact enclosure for the Arduino prototype and used a rechargeable lithium battery in a compact package.

The interaction is pretty simple and stimulates body movement. To change the sound, take the hat off and put it on again (or pass it to another kid). Shake and move the head to the sides to change the pitch. And to change the rhythm, jump!
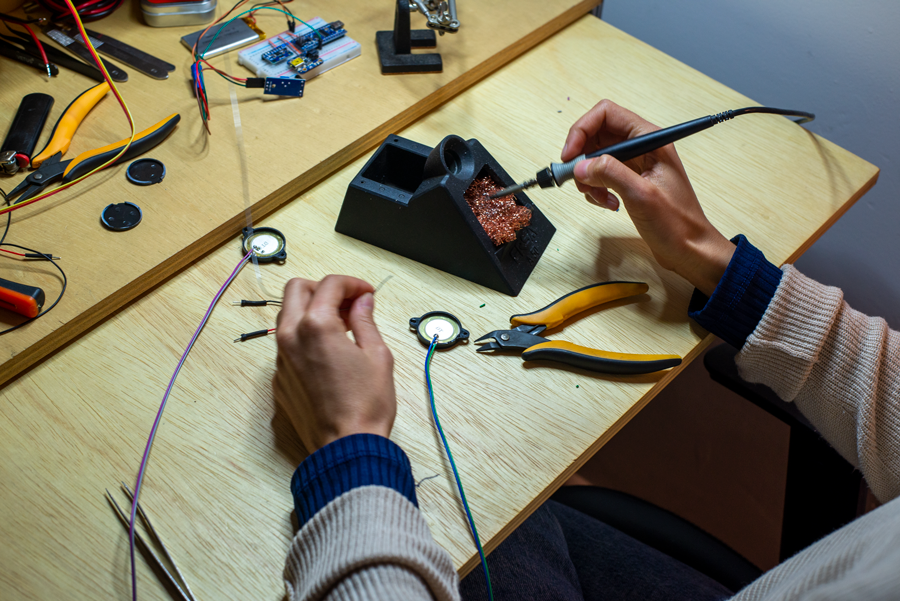
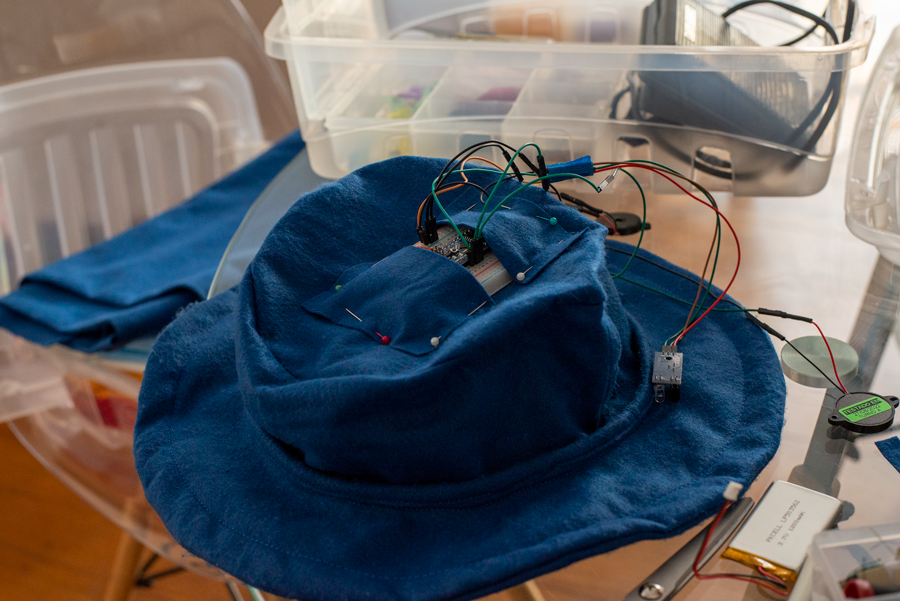
The core is composed of the following sensors and actuators:
Infrared sensor → Check if the hat is on or off the head and trigger the sounds
Piezo buzzers → Play the sounds
The monotonic songs came from Robson Couto's repository
Accelerometer → Check the body orientation and change the song pitch
2. The core
(electronic's bag)
(electronic's bag)
The primary requisite for this project is making all the electronic components invisible at the first moment to keep the magic alive. To do so, I designed a bag to fix the sensors and easily attach them to the hat.
Previously, I made some tests by sewing the components directly into the fabric. It was a fast way of prototyping the location of the sensors.
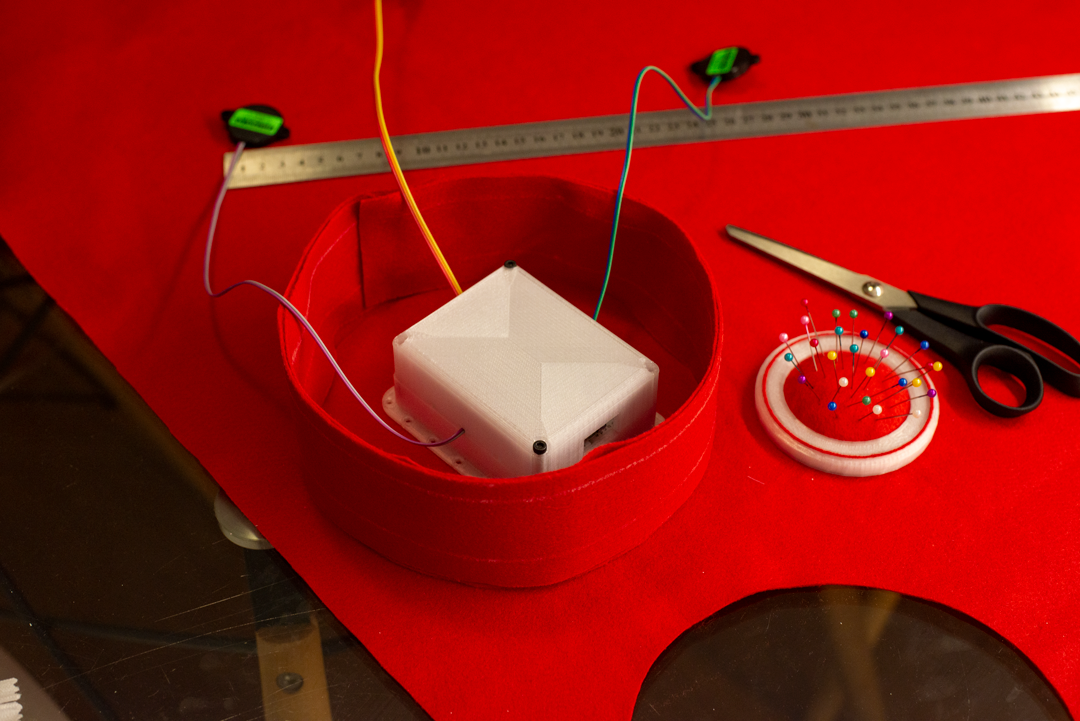

I designed 3D-printed attachable cases for the infrared sensor and the piezo buzzers as well. It makes the prototype easy to assemble and gives me more flexibility to alter the location of the sensors during the test.
3. The hat
(bring it all together)
(bring it all together)
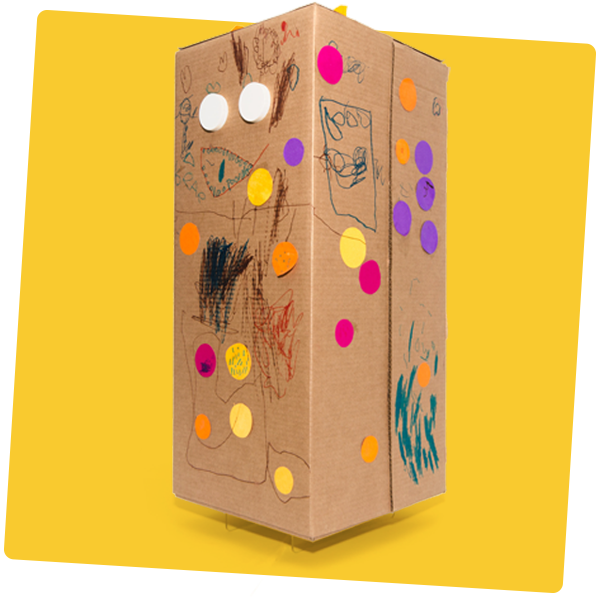
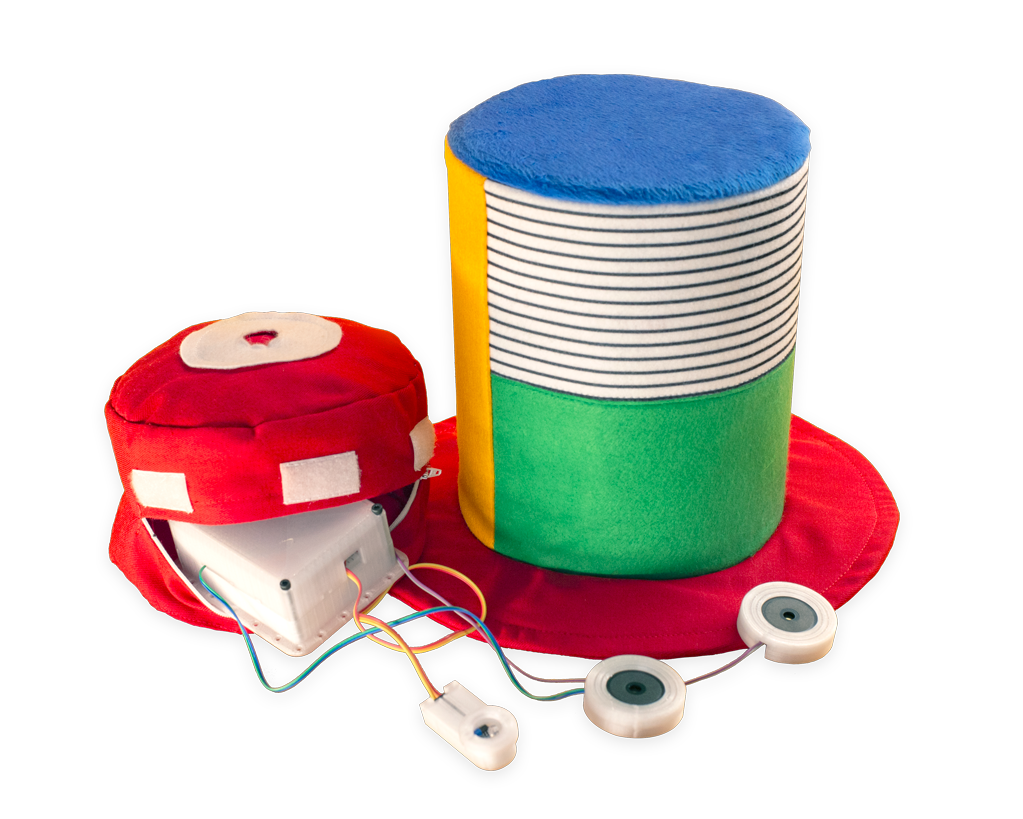
The hat is the central piece of this project. It is the object that calls for interaction, so it needs to draw attention and look fun.
At first, I made a super simple prototype, which was easy to build. However, to test it, I needed a better-structured and more funnier hat.


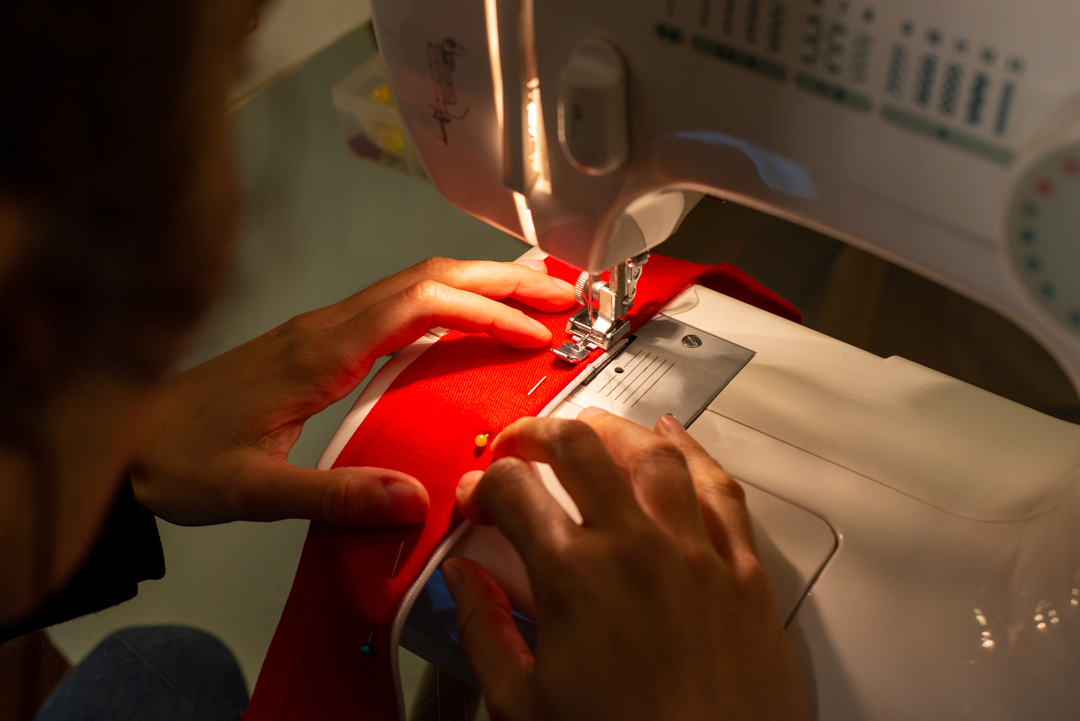
The hat needed to be well-structured to support the weight of the electronic components. So, I tested different materials to create a robust structure, also thin enough to be sewn in a domestic sewing machine.
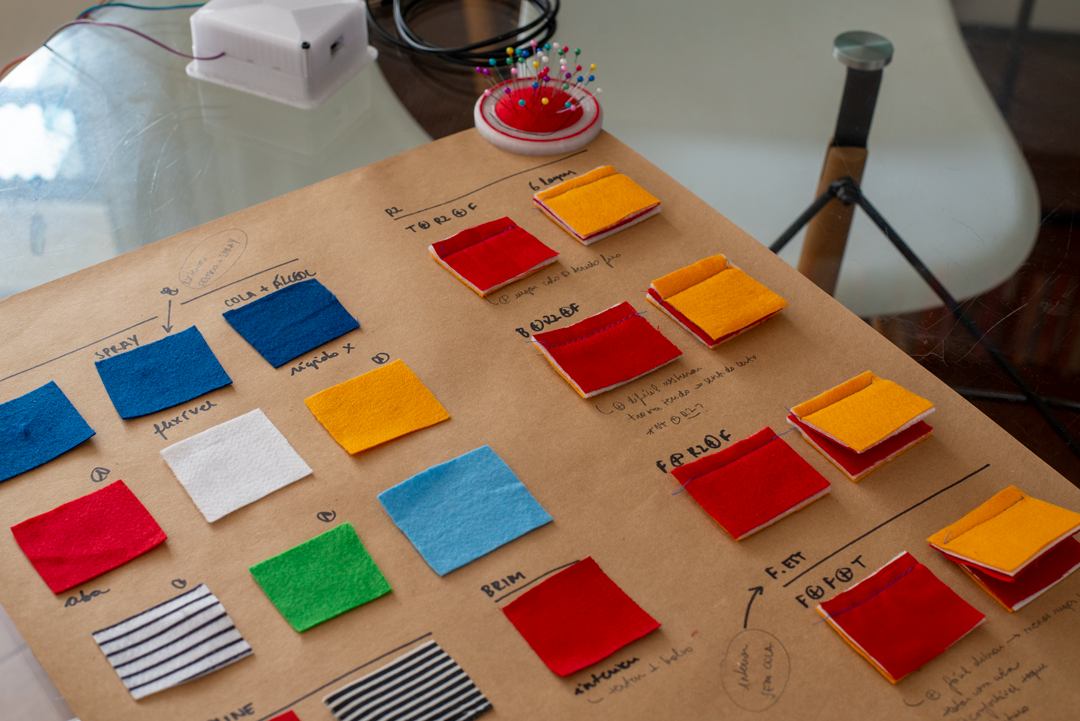
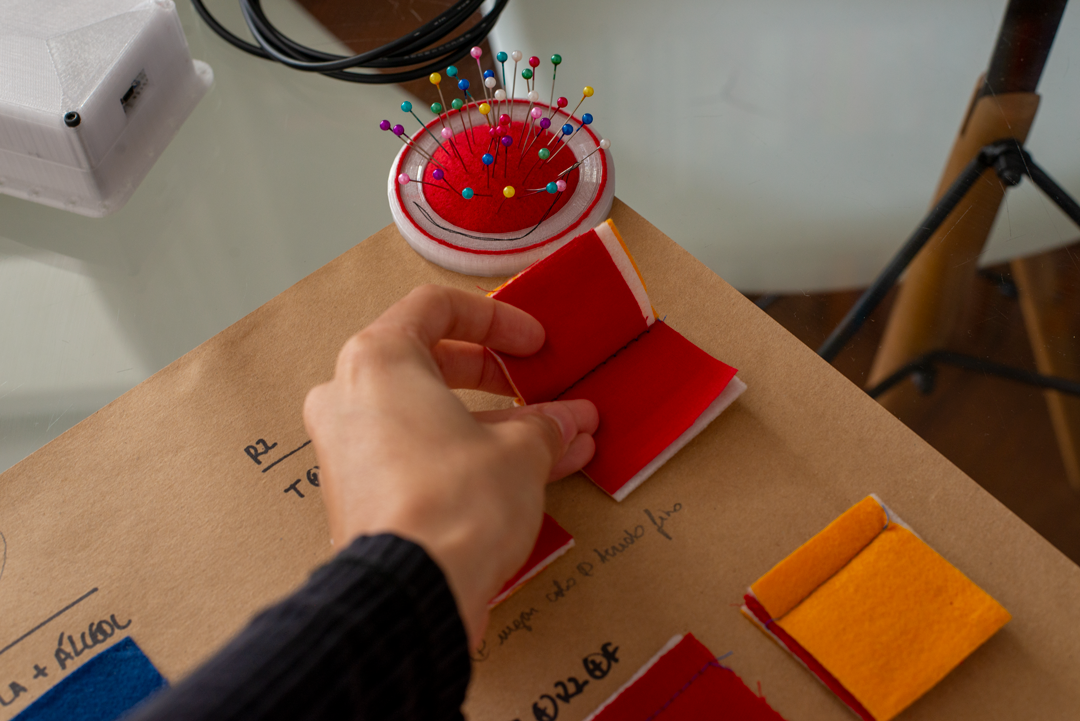

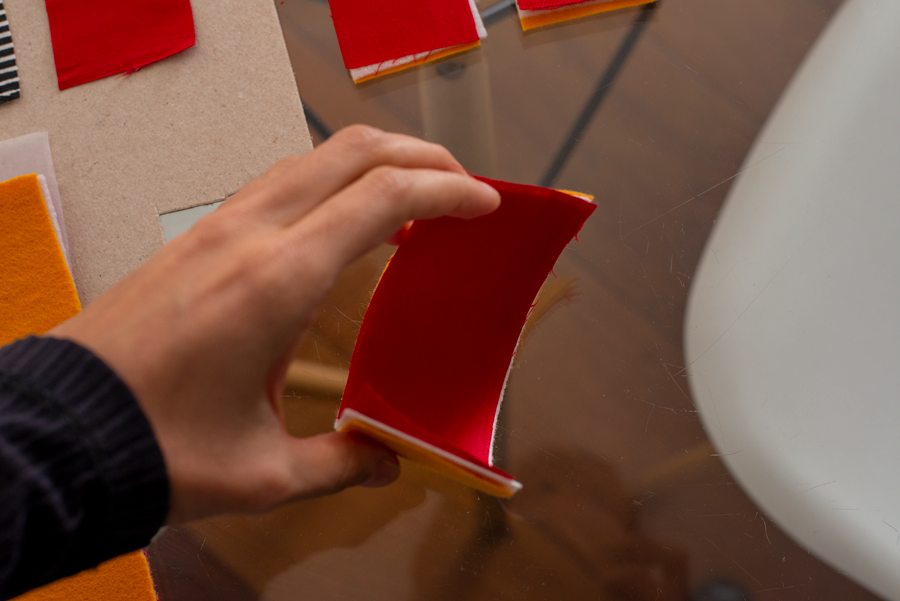
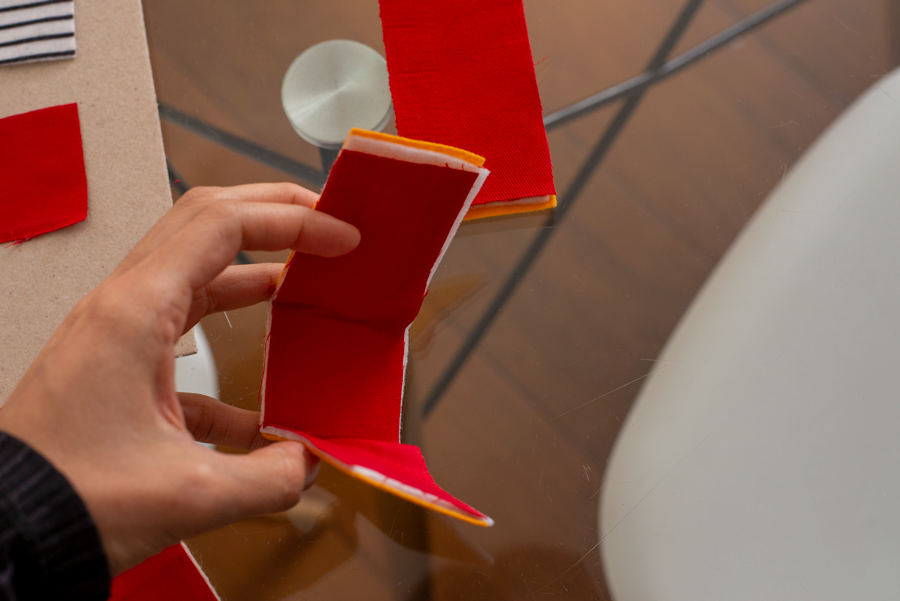
Then I made a downscaled prototype to understand the steps needed to assemble the hat. The process was a bit more complex than sewing a regular hat, but it helped map the need for adjustments using less material.
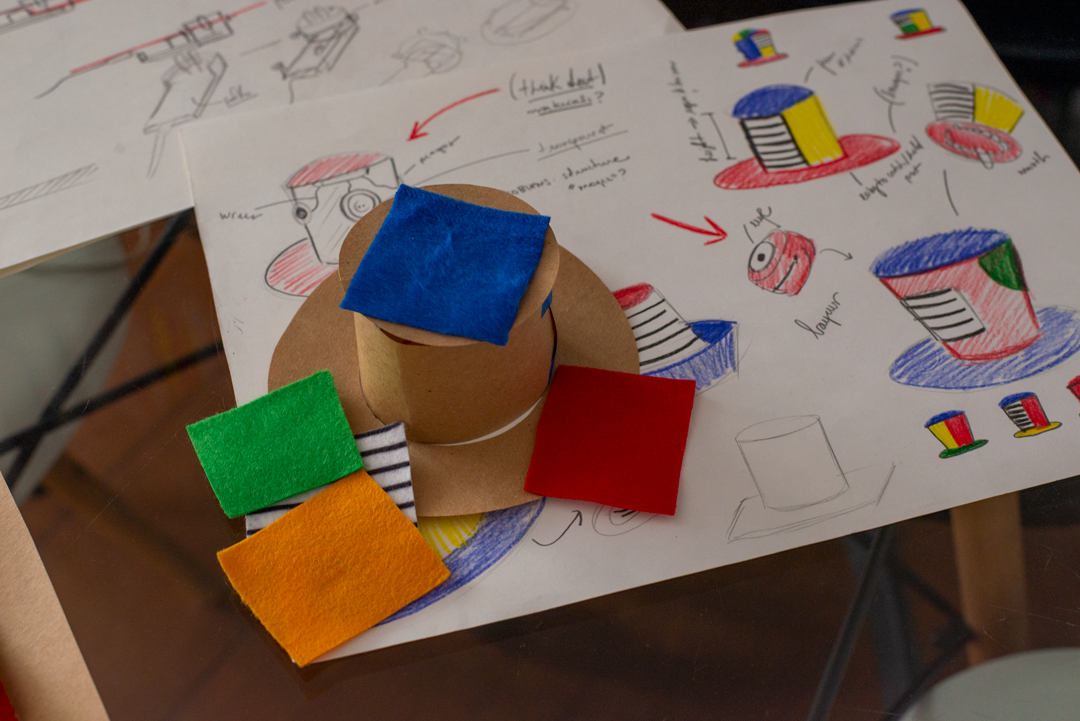

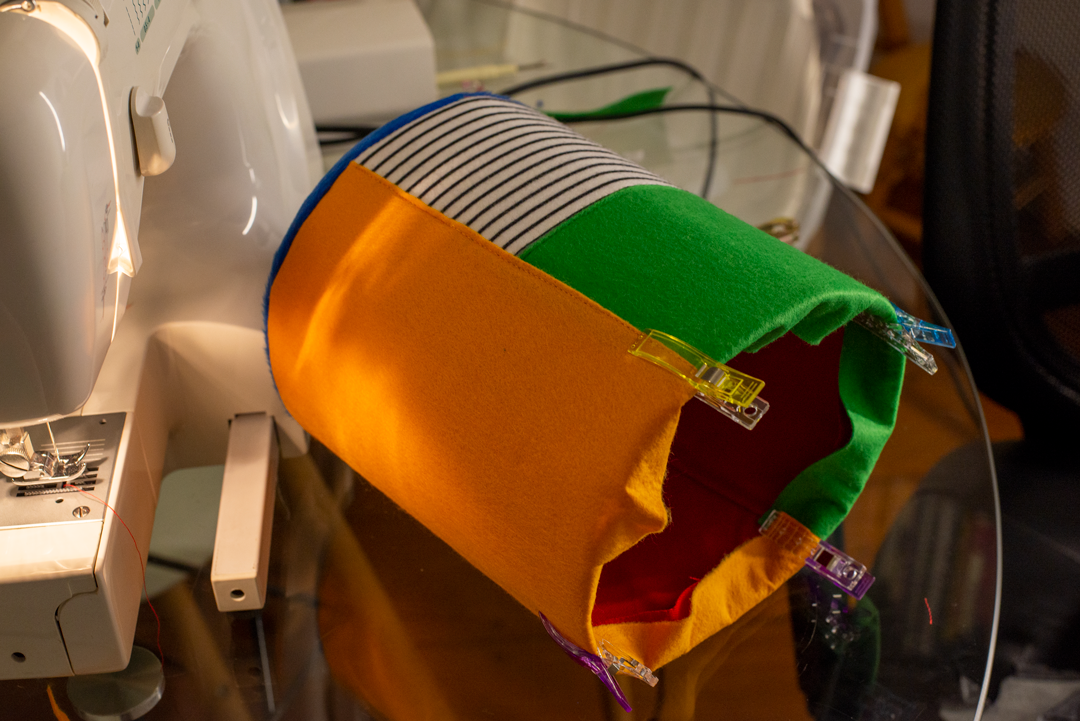
My mom, a kindergarten teacher, also gave insights regarding the hat design. In the end, I made a fun top hat and played with different materials and colors to stimulate other senses and imagination.
In parallel, we are designing the interactions, so the next step is testing at the school.
Progress:
✅ First prototype → simple hat + song selection
✅ Interactions→ change pitch + volume + pace
✅ Hat design → sewing + integrating the circuit
✅ Compose the songs → rhythm + pitch ...
⚙️ Next step: testing at the school...